
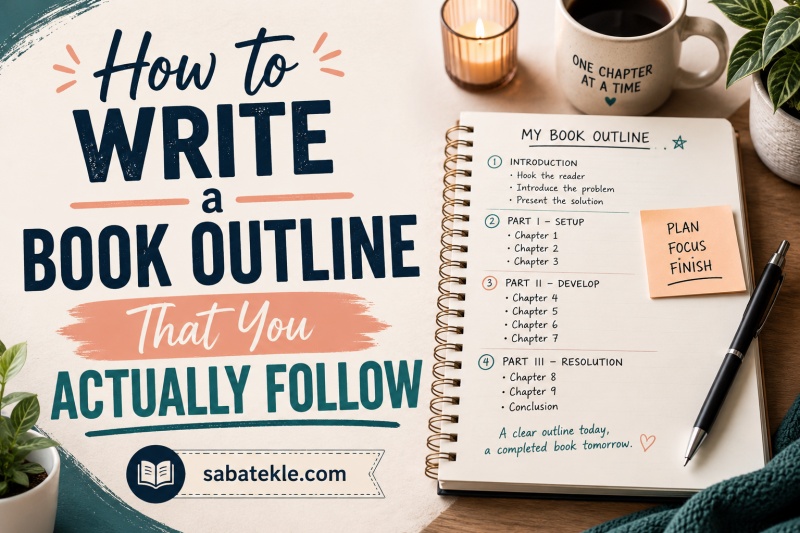
You have probably read ten articles about how to write a book outline. They all give you the same advice: define your characters, map your plot points, break it into chapters. You follow the steps. You create something that looks professional. Then you start writing, and by chapter 8, your characters are doing things you never planned, your plot has taken a hard left turn, and that outline is gathering dust in a folder you never open.
This guide is different. I am going to show you how to write a book outline you will actually follow, not just how to create one. The gap between those two skills is where most novels die.
After analyzing dozens of abandoned manuscripts and talking to writers who finished versus writers who got stuck, I have identified the real problem. It is not that your outline was bad. It is that nobody taught you how to use an outline as a living document rather than a rigid contract. Let me fix that.
Table of Contents
Why Most Book Outlines Fail Before Chapter 10
Here is what actually happens when writers abandon their outlines. It is rarely a sudden decision. It is death by a thousand deviations.
First, you discover something about your protagonist in chapter 4 that changes everything. That is good. That means your characters are alive. But your outline was written when you knew less about them. So you make a small adjustment. Then another. By chapter 9, you are writing in a different direction entirely, and your outline has become fiction you no longer reference.
I have seen writers throw out 60,000 words because they followed an outline that no longer fit the story they discovered. That is the real tragedy. The outline was not the problem. The inability to adapt it was.
The other failure mode is over-planning. You spend three months creating a 50-page outline with every scene detailed. When you finally start writing, the story feels stale. You already told it to yourself. There is no discovery left. You get bored. You quit.
Pantser, Plotter, or Hybrid: Know Your Type
Stephen King is famously a pantser. He writes by discovery, letting the story reveal itself. Dean Koontz uses a detailed classic story structure. About half of all published novelists are pantsers. The other half are plotters. The problem is that most outlining advice assumes you are a plotter.
If you are a pantser, a detailed chapter-by-chapter outline will feel like a prison. You will rebel against it by chapter 3. If you are a plotter, a loose sketch will leave you anxious and blocked. You need the security of knowing where you are going.
Most writers I work with are hybrids. They need the security of knowing their ending, but they need room to discover the path there. The outlining method you choose should match your personality, not the other way around. I will give you options for each type.
The 4 Rules of Outlining That Actually Work
These are not my rules. These are the patterns I have seen work across hundreds of finished manuscripts. Follow them and your outline becomes a tool, not a burden.
Rule 1: Start Broad and Drill Down
Begin with a single sentence describing your book. Expand to a paragraph. Then a page. Only then do you outline individual chapters. If you start with chapter 1, scene 1, you will miss the forest for the trees.
Rule 2: Plan the Ending First
Know where you are going before you map the journey. The ending is your North Star. Without it, every plot decision becomes arbitrary. This does not mean you cannot change the ending. It means you have a destination to deviate from intentionally rather than drift aimlessly.
Rule 3: Build in Flexibility
Your outline is a hypothesis, not a law. Treat it as a starting point that will change. Plan for discovery. Leave gaps in your outline where surprises can happen. Mark sections as flexible versus fixed.
Rule 4: Focus on Character, Not Plot
Plot is what happens. Story is why it matters. Readers remember characters, not plot points. Your outline should track character arc more closely than plot beats. When your character grows, your plot must adapt.
How to Make a Proper Book Outline: 7 Steps
This process works for fiction and nonfiction. Adjust the depth based on whether you are a pantser or plotter.
Step 1: Distill Your Core Premise
Write one sentence that captures what your book is about. Not a summary. A premise. For fiction: “A disgraced detective must solve a murder in a town where everyone has something to hide.” For nonfiction: “A practical guide to building habits that stick, based on behavioral science research.”
This sentence is your filter. Every chapter, every scene must serve this premise. If it does not, cut it or change it.
Step 2: Define Your Protagonist (or Reader Transformation)
For fiction: Who is your main character at the start? What do they want? What do they need? What is the gap between those two things? This is your character arc. Write it out. If your character does not change, you have no story.
For nonfiction: Who is your reader at the start? What problem are they trying to solve? Who will they be at the end? What transformation will your book create?
Step 3: Identify the Forces Against Them
Fiction: Who or what opposes your protagonist? This might be an antagonist, society, nature, or their own internal conflicts. List the major obstacles they will face.
Nonfiction: What is preventing your reader from solving their problem? Knowledge gaps, bad habits, misconceptions, lack of tools? These become your chapter topics.
Step 4: Build Your Three-Act Skeleton
Map the major turning points. You need these six elements minimum:
- Opening scene: Establish normal world and protagonist’s starting point
- Inciting incident: The event that kicks off the main action
- First plot point: The point of no return, protagonist commits to the journey
- Midpoint: A major revelation or reversal that raises the stakes
- Second plot point: The dark moment before the climax, all seems lost
- Climax and resolution: The final confrontation and aftermath
These are your fixed points. Everything between them is flexible.
Step 5: Create Chapter Beats
Now expand each act into chapters. For pantsers: One sentence per chapter describing what happens. For plotters: One paragraph per chapter. For each chapter, answer: What changes? If nothing changes, combine chapters or cut them.
Step 6: Scene Cards (Optional but Recommended)
For plotters and hybrids, break key chapters into scene cards. I use actual index cards or a digital equivalent. Each card gets: location, characters present, what happens, what changes, emotional tone. The magic happens when you lay them out and realize two scenes should swap places or one should be cut.
Abbie Emmons has a 25-minute outlining method using this technique that I recommend for visual thinkers.
Step 7: Reverse Outline Check
Before you write word one, do this sanity check. Read through your outline from the ending backward. Does each plot point logically lead to the next in reverse? If you cannot trace causation backward, your outline has holes. Fix them now. It is 100 times easier than fixing them at 60,000 words.
Book Outline Structures: Three Options Compared
Not every story fits the same structure. Here are your main choices.
The Three-Act Structure
Setup, confrontation, resolution. This is the classic Hollywood structure and it works for most commercial fiction. Act 1 is 25%, Act 2 is 50%, Act 3 is 25%. Simple, proven, effective. Use this for straightforward narratives with clear external conflict.
The Hero’s Journey
Twelve stages from the ordinary world through the return with the elixir. Best for epic fantasy, quest narratives, or stories about transformation. Do not force a simple romance into this structure. It will feel bloated.
The Snowflake Method
Randy Ingermanson’s approach: Start with one sentence, expand to a paragraph, expand to character summaries, expand to scene lists. It is recursive and intensive. Perfect for plotters who love detail. Terrifying for pantsers. I have seen writers spend six months on this method and never start the actual book.
How to Actually Follow Your Outline Through the Messy Middle
This is the section most guides skip. Creating an outline is easy. Following it when your story wants to go rogue is the hard part.
The Dynamic Outline Approach
Your outline should be a living document. I keep two documents open when I draft: my manuscript and my outline. Every day before writing, I review the outline for the chapter ahead. If yesterday’s writing changed something, I update the outline immediately. Not later. Immediately.
Think of your outline as a GPS that recalculates when you take a different turn. The destination stays the same. The route adapts.
The 70% Rule
Follow your outline about 70% of the time. Deviate 30%. This ratio gives you structure without rigidity. If you are deviating more than 30%, stop and ask: Is my outline wrong, or am I avoiding the hard work this section requires? Sometimes deviation is avoidance.
When to Deviate (And When Not To)
Deviate when you discover something true about your character that your outline did not anticipate. That is gold. Do not deviate when you are bored. Boredom is often a sign you need to raise stakes, not change direction entirely.
Here is my test: If the deviation serves the core premise and character arc, do it. If it just seems like a cool detour, resist. Cool detours kill momentum.
The Messy Middle Checkpoint
Chapters 6-12 are where most books die. You have moved past the excitement of the opening. You have not reached the climax. This is where writers abandon their manuscripts. Here is how to survive it.
When you hit chapter 6, stop and audit your outline. Are your characters still on their arcs? Is the conflict escalating? Are you bored? If yes to any, adjust the outline before continuing. Do not write through the swamp. Map a way around it.
The Checkpoint System That Prevents 60,000-Word Dead Ends
I borrowed this from software development. Every writer should use it.
Weekly Outline Review
Every Sunday, spend 30 minutes with your outline. What changed this week? Update the outline. What is coming next? Make sure you know. This prevents drift.
The Character Arc Check
Every 10,000 words, verify your protagonist has changed. Look at chapter 1 versus current chapter. Is there visible growth? If not, your outline needs adjustment. Character drives story. If your character is static, your story stalls.
The Consistency Audit
Every 25,000 words, do a full outline review. Does the current story still match your outline? If not, revise the outline to match reality. Never try to force the story back to an outdated plan.
The Ending Check
At the 50% mark, verify your ending still makes sense. Stories evolve. Sometimes the ending you planned no longer fits. Better to realize this at 50% than at 95%.
Common Book Outlining Mistakes to Avoid
I see these errors constantly. Avoid them and you are ahead of 80% of writers.
Mistake 1: Outlining Every Scene Before Writing
Over-planning kills discovery. You need some mystery to stay engaged. If you outline at the scene level, leave room for surprises.
Mistake 2: Treating Your Outline as Law
Your outline is a tool, not a contract. The story is what matters. If the outline and the story conflict, the outline loses.
Mistake 3: Not Accounting for Character Growth
Characters grow as you write them. A protagonist who starts timid might become bolder faster than you planned. Your outline must flex to accommodate this.
Mistake 4: Starting Without Knowing the Ending
I have tried this. It does not work. You end up with 40,000 words of meandering and no way to resolve it. Know your ending.
Mistake 5: Using the Wrong Outline Method for Your Personality
If you are a pantser, do not try the Snowflake method. You will quit. If you are a plotter, do not try to pants it. You will freeze. Match the method to your brain.
Fiction vs Nonfiction: Key Differences
The outlining process differs based on what you are writing.
Fiction Outlining
Focus on character arc and emotional beats. Plot serves character. Your outline tracks internal transformation more than external events. Leave room for dialogue and voice to emerge. Fiction outlines need more flexibility because characters surprise you.
Nonfiction Outlining
Focus on argument flow and reader transformation. Each chapter must move the reader closer to solving their problem. Research checkpoints are critical. Do not write chapter 5 until you have researched it. Nonfiction outlines can be more rigid because you are not discovering characters. You are presenting information.
Frequently Asked Questions
How to make a proper book outline?
Start with a one-sentence premise. Expand to a paragraph summary. Define your protagonist’s starting point and transformation. Map the major plot points using a three-act structure or similar framework. Break each act into chapters. Review your outline from the ending backward to check for logical flow.
What are the 4 rules of outlining?
Start broad and drill down. Plan the ending first. Build in flexibility for discovery. Focus on character arc rather than just plot points.
What are common mistakes in book outlining?
Over-planning every scene before writing, treating the outline as unchangeable law, not accounting for character growth, starting without knowing the ending, and using an outline method that does not match your natural writing style.
How to start writing a book outline?
Begin by writing one sentence that captures your core premise. Then expand to a paragraph describing the main character, their goal, and the central conflict. From there, identify your major plot points before breaking down into chapters.
How do I follow my outline when the story changes?
Treat your outline as a living document. Update it immediately when your story deviates. Follow your outline about 70% of the time while allowing 30% for discovery. Deviate when it serves character and premise. Do weekly outline reviews to prevent major drift.
Your Next Steps
Now you know how to write a book outline that you will actually follow. The key is treating it as a tool for direction, not a contract for rigidity.
Start today. Write your one-sentence premise. Define your protagonist and their transformation. Map your six major plot points. That is enough to begin. Everything else can grow as you write.
Remember: finished books beat perfect outlines every time. Your outline exists to get you to the end, not to be beautiful. Update it as you go. Trust your story. Trust yourself.
The writers who finish are not the ones with the best outlines. They are the ones who learned to adapt their outlines while keeping their eyes on the ending they promised the reader.